GUANDIAO
It is used to detect and analyze the shape (geometric structure) and appearance data (such as color, surface albedo, etc.) of objects or environments in the real world. The collected data is often used for 3D reconstruction calculations to create digital models of actual objects in the virtual world
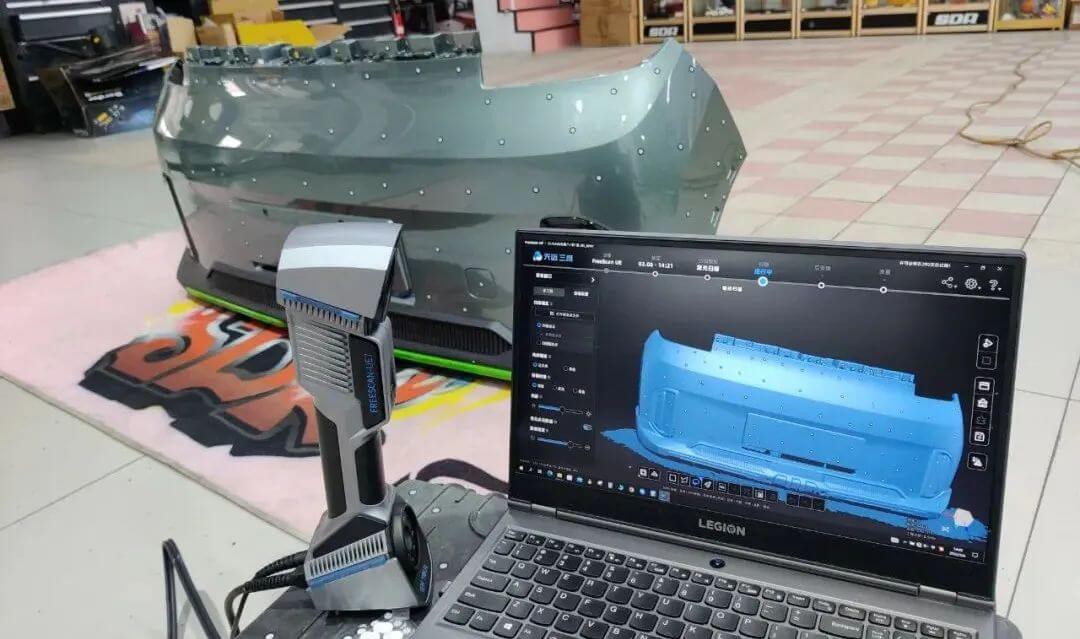
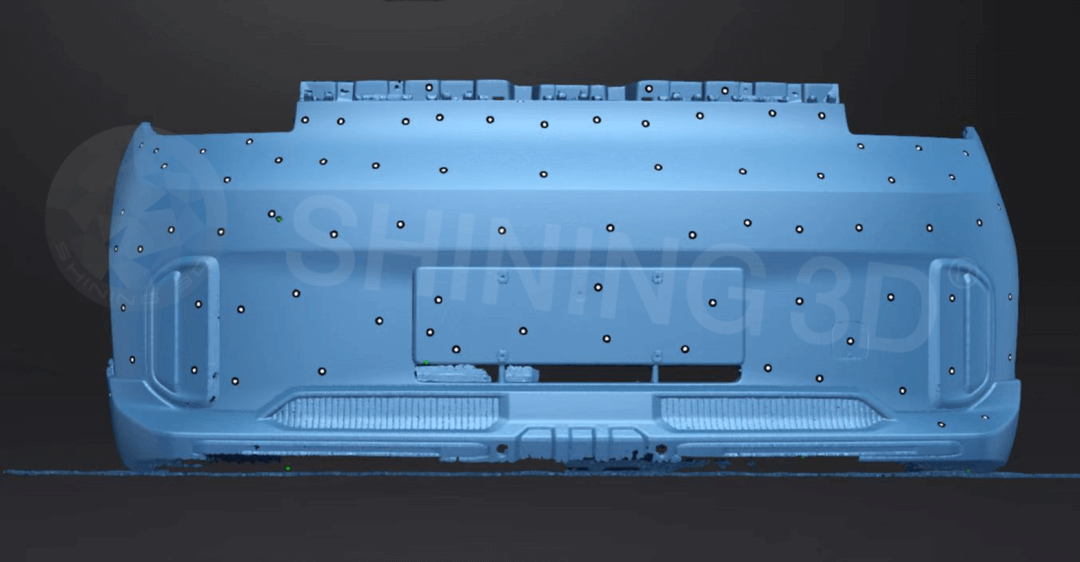
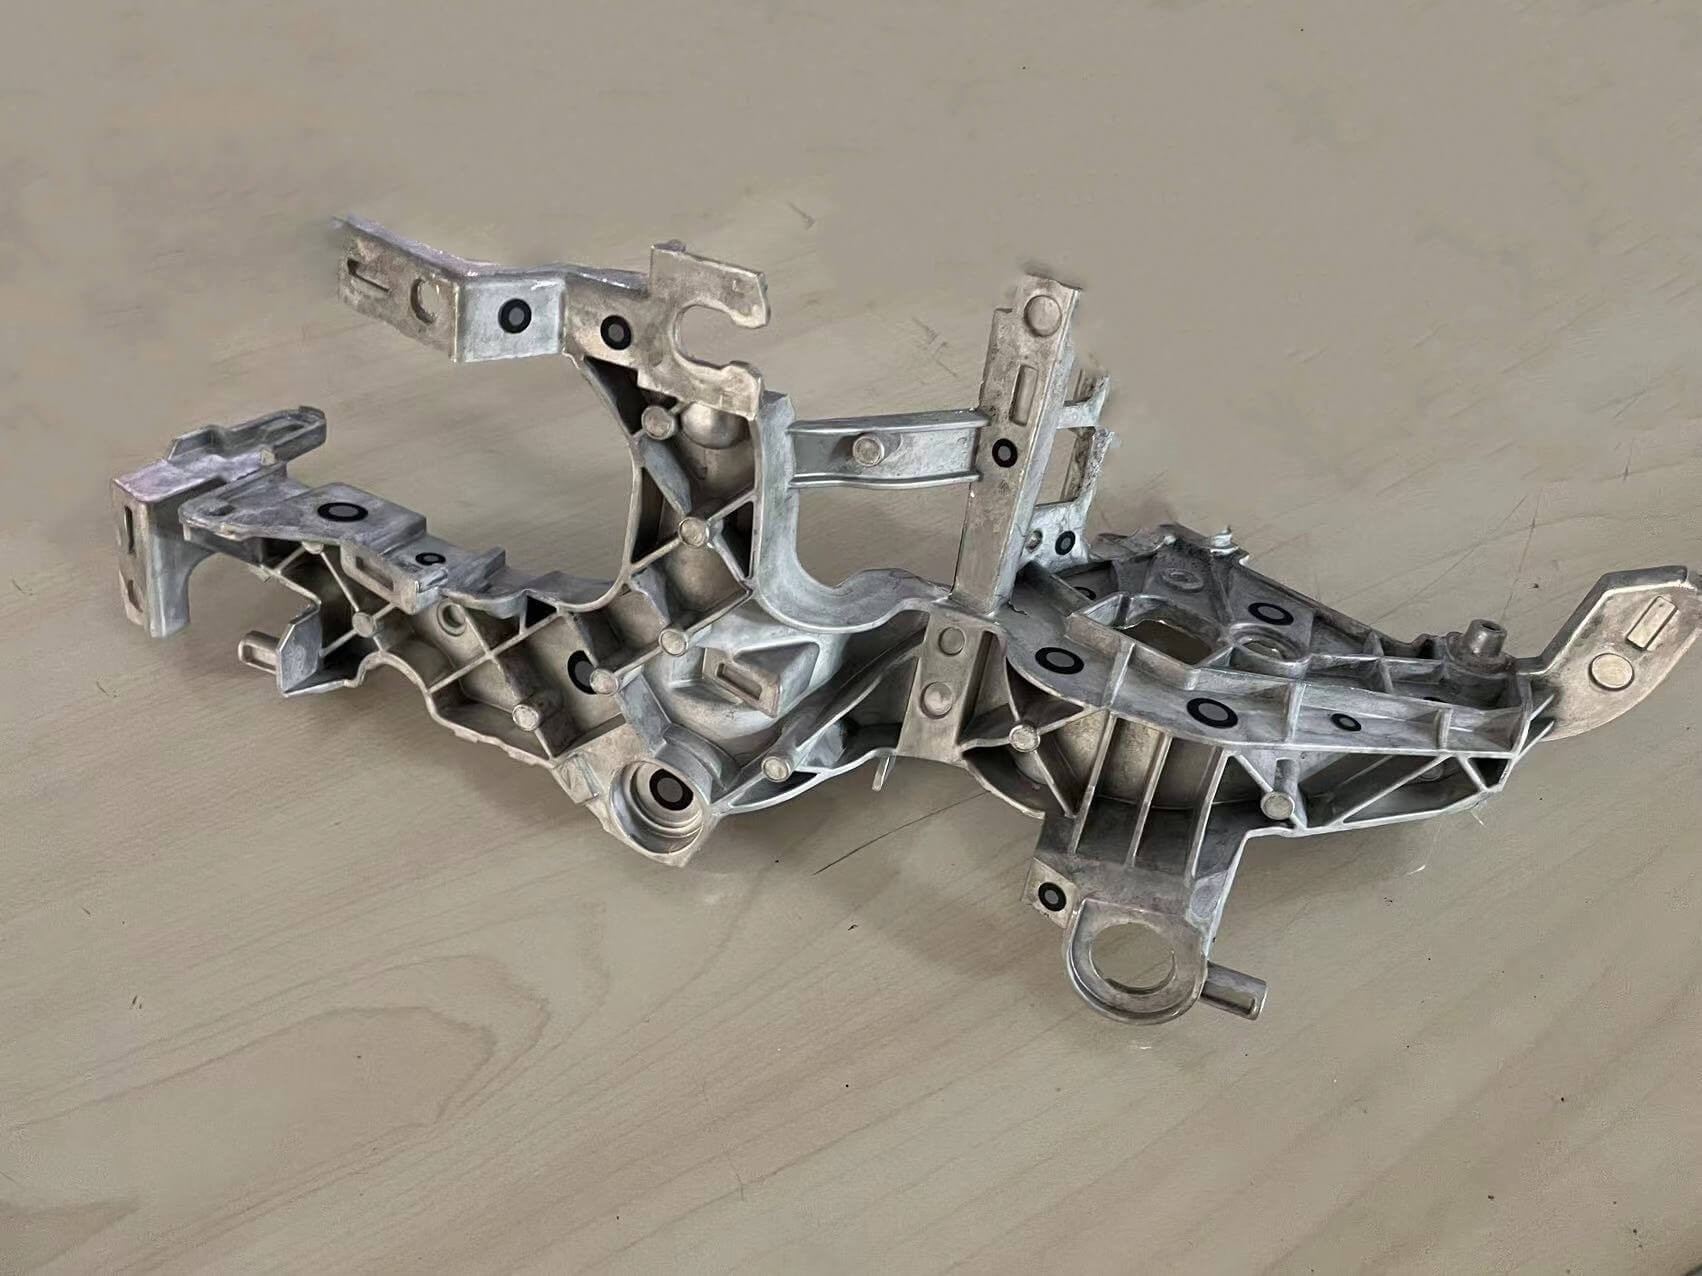
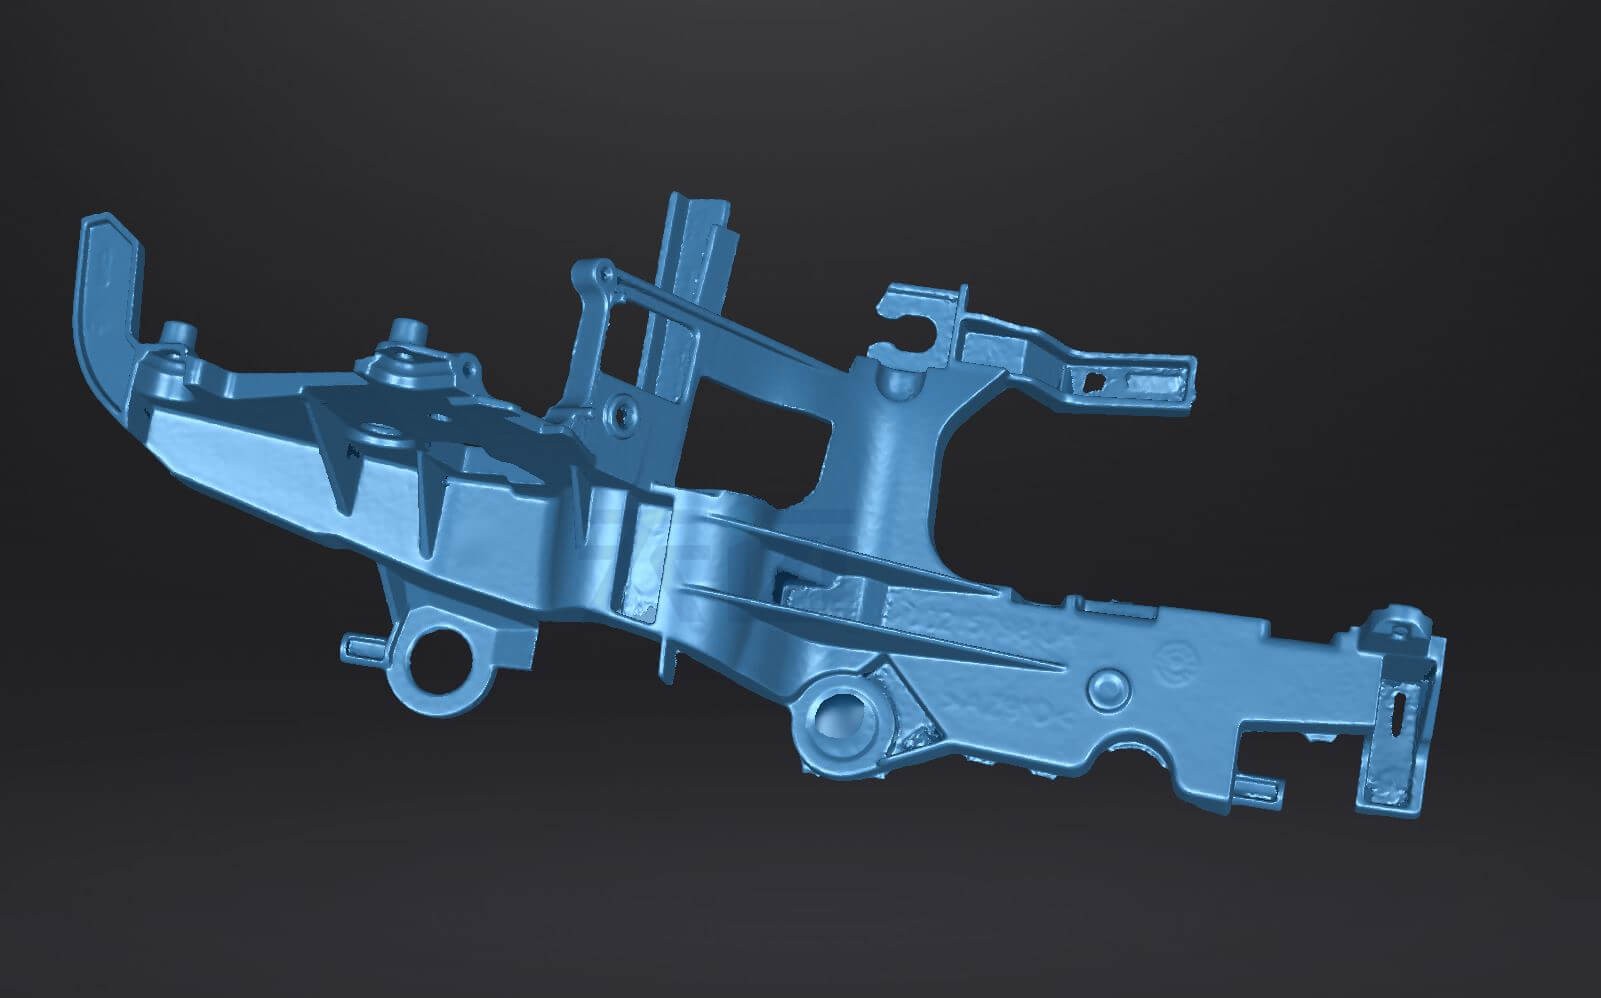
Handheld laser 3D scanners can be used for reverse engineering.
Reverse engineering, also known as reverse engineering, refers to the process of reversely launching product design data (including various design drawings or data models) based on existing products, so as to generate a CAD model to accurately reproduce the original design. . Reverse engineering technology plays an indispensable role in machinery manufacturing, aerospace, automobile manufacturing and other industries, and is widely used in new product development and product modification design. Its functions include:
– Greatly shorten the product design and development cycle, and speed up product update iterations;
– It can effectively reduce the trial and error costs and business risks of enterprises developing new products;
With the continuous improvement of modern manufacturing technology and product design level, the complexity and precision of products make manual reverse surveying and mapping more and more difficult, especially for some parts with complex structures and many curved surfaces, traditional manual surveying and mapping It is difficult to make accurate measurements.
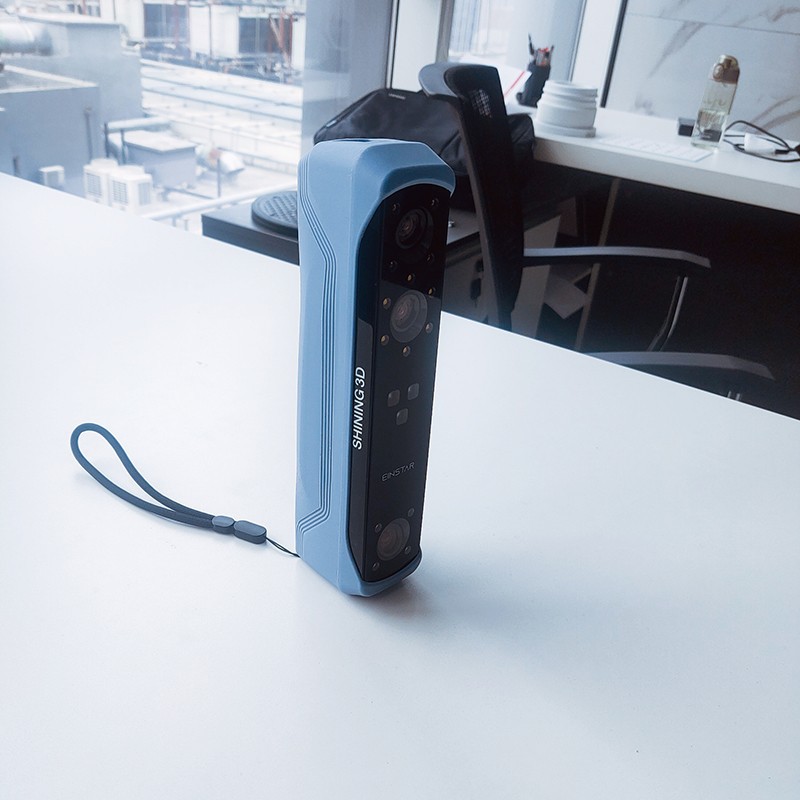
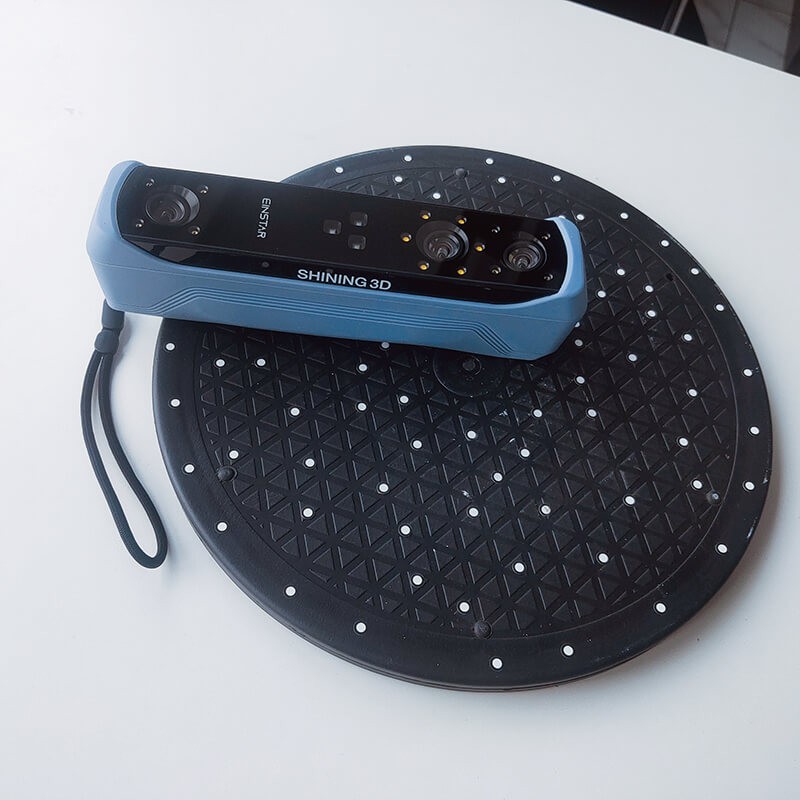
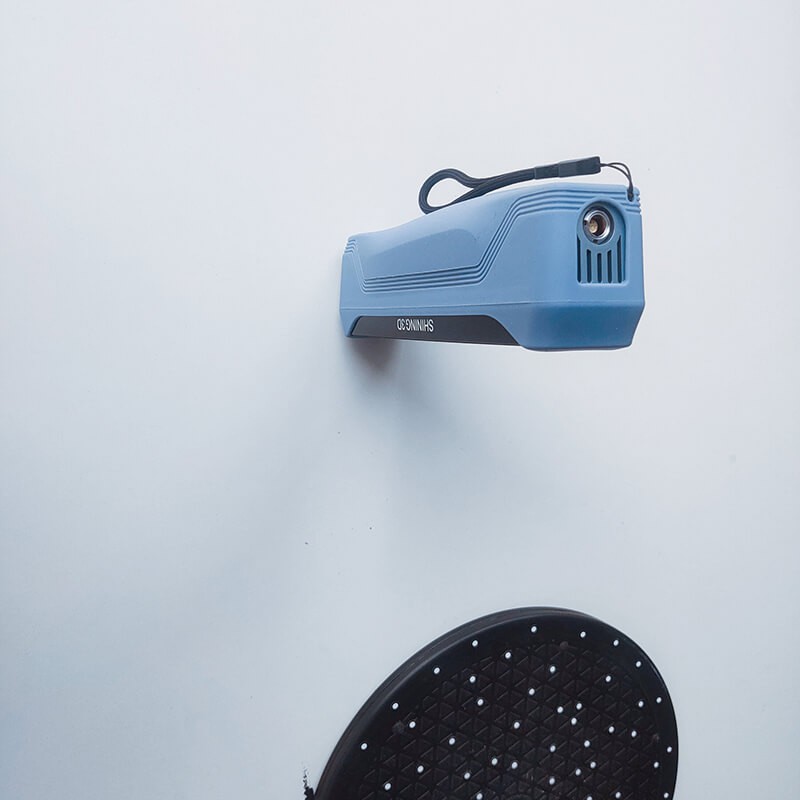
There are three scanning methods of handheld laser 3D scanners, the differences are:
1. 3D scanner: point measurement. It is suitable for the detection of the shape and position tolerance of the surface of the object.
Reflecting the surface characteristics of the object through each measurement point has the advantage of high precision, but the speed is slow. If you want to do reverse engineering, you can only have the advantage of measuring objects with high precision shape and position tolerance requirements.
2. 3D scanner: line measurement. Suitable for scanning small and medium-sized objects, the scanning depth of field is small (generally only 5 cm), and the precision is high. This generation of systems is relatively mature, and the highest precision of its new products has reached 0.01 microns
3. 3D scanner: surface measurement. It is used for 3D inspection, sheet metal inspection and tolerance analysis; inspection tool inspection; CAD comparison; large metal frame inspection.
Title
Title
Title
Title
Copyright © 2024 Shandong Guandiao CNC Equipment Co., Ltd. . | All Rights Reserved Technical support:Xintuweb